
These little makeup wipes are super easy to make and have been a great addition to my toiletry bag! It’s a lovely way to use up fabric scraps and, of course, reduce some cotton swab waste. Let me walk you through it.
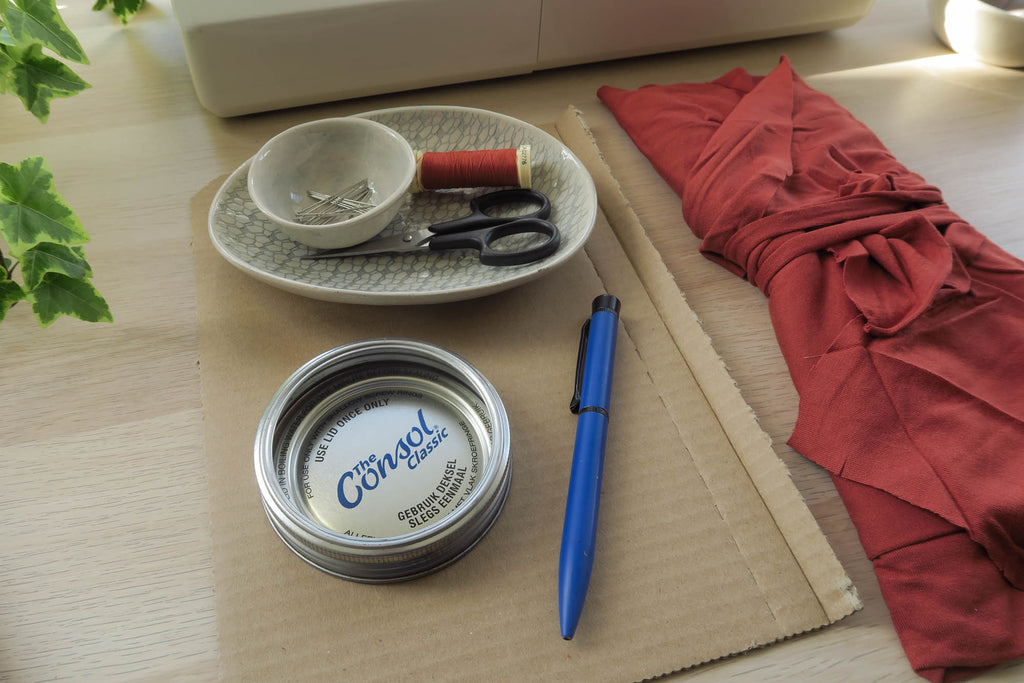
What you need
- Fabric and matching thread
- Something round for a template (a Consol lid or the rim of a glass)
- Pins
- Sharp fabric scissors
- Sewing machine
When choosing your fabric, try to go for something that is gentle on the skin! I had some leftover viscose t-shirting from the Pigeon tee samples I made, which was perfect.
Let’s get making
Using your template
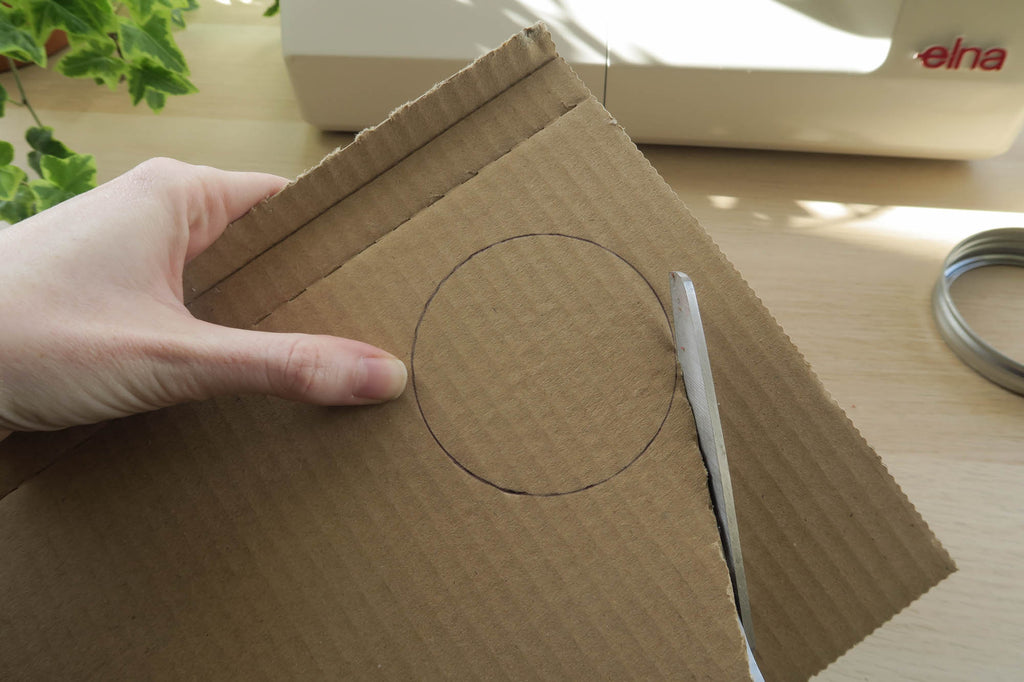
If you don’t have something nice and flat to trace, whizz round the edge of a glass with a pen to create a little cardboard template. You could get fancy and make a heart or a flower shape! Squares would also work well and reduce off cuts (I usually save my off cuts to stuff pillows or make doggy toys).
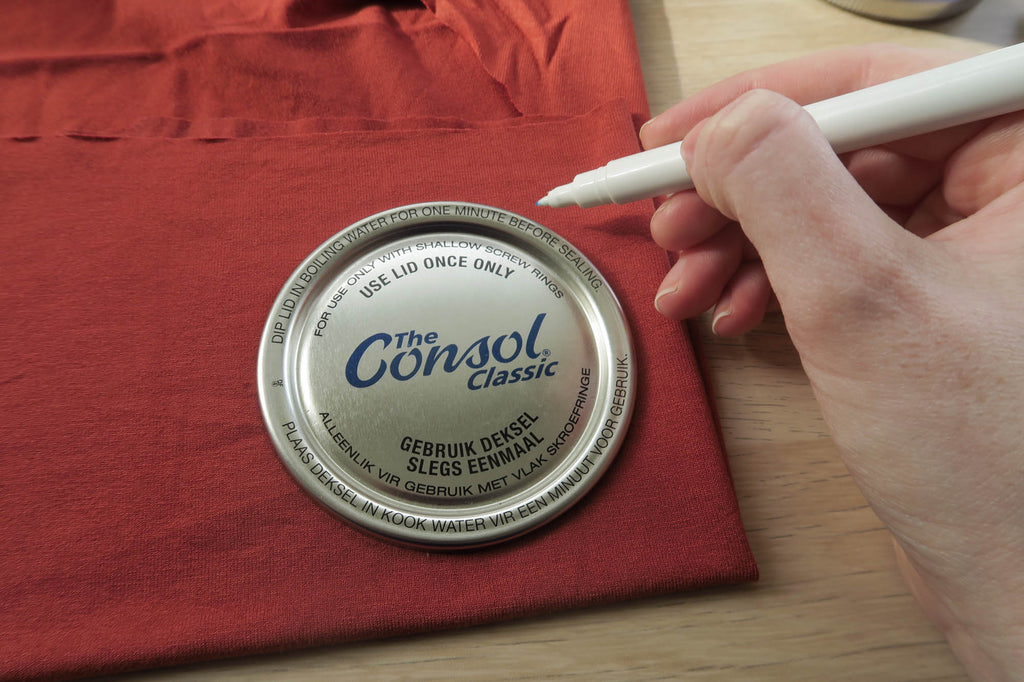
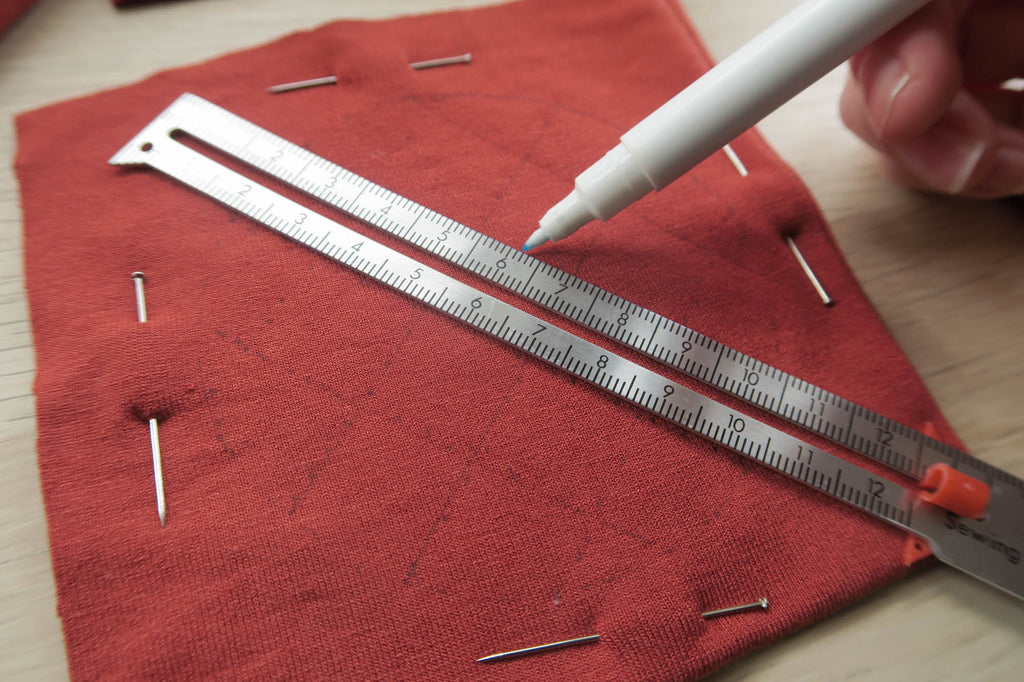
Fold your fabric to create 3 to 4 layers and pop your template down on top. Using your washable fabric pen, mark around your template.
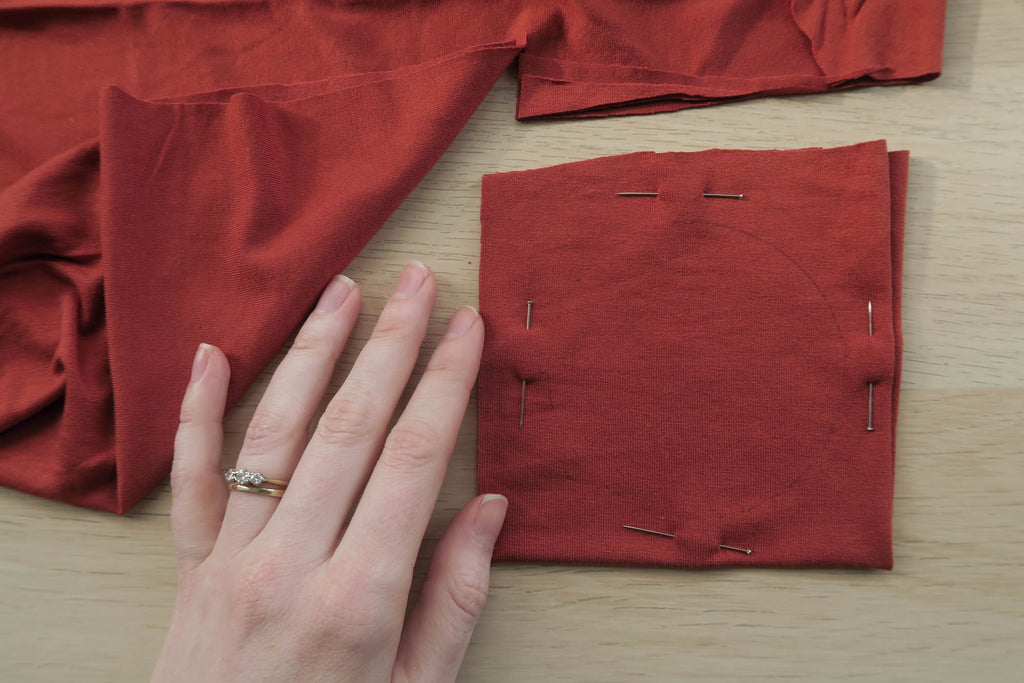
Pin through all the layers and roughly cut out around the shape.
Quilting your fabric
We’re going to sew through all the layers of fabric to create a quilted effect. This makes the makeup wipe firmer and less flimsy. Draw diagonal intersecting lines onto your fabric to act as a guide. You can do this freehand, but I like to use either side of my sewing ruler to get the spacing even.
Time to get stitching
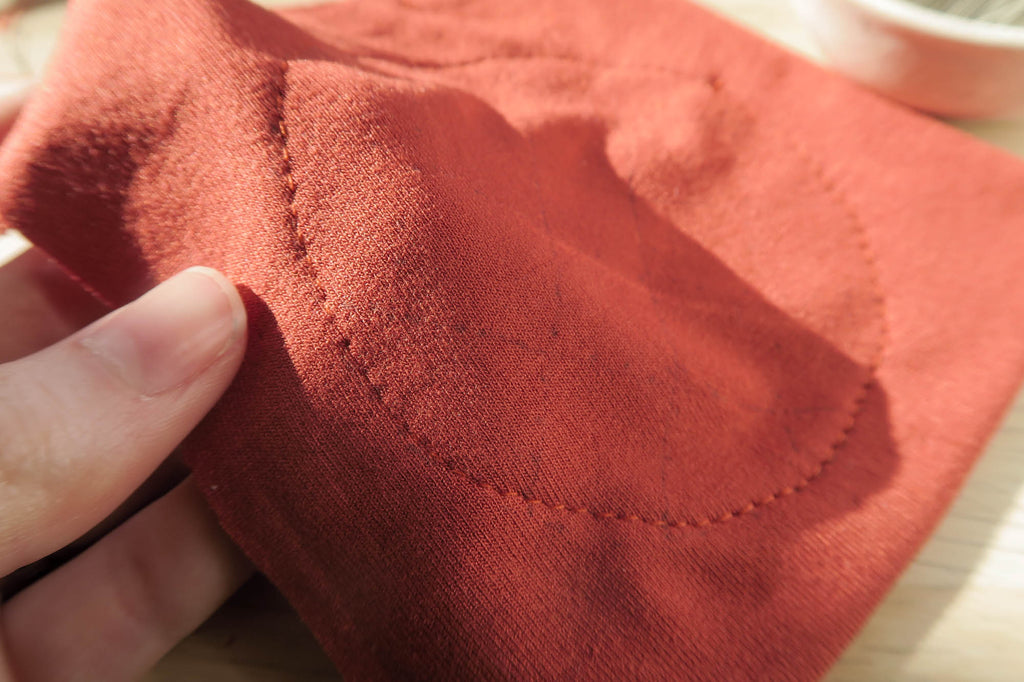
Top stitch all the way around the edge of your marked circle. I used a stretch needle and set my stitch length between 3 and 4 for the top stitching. Go slowly to avoid puckering your fabric.
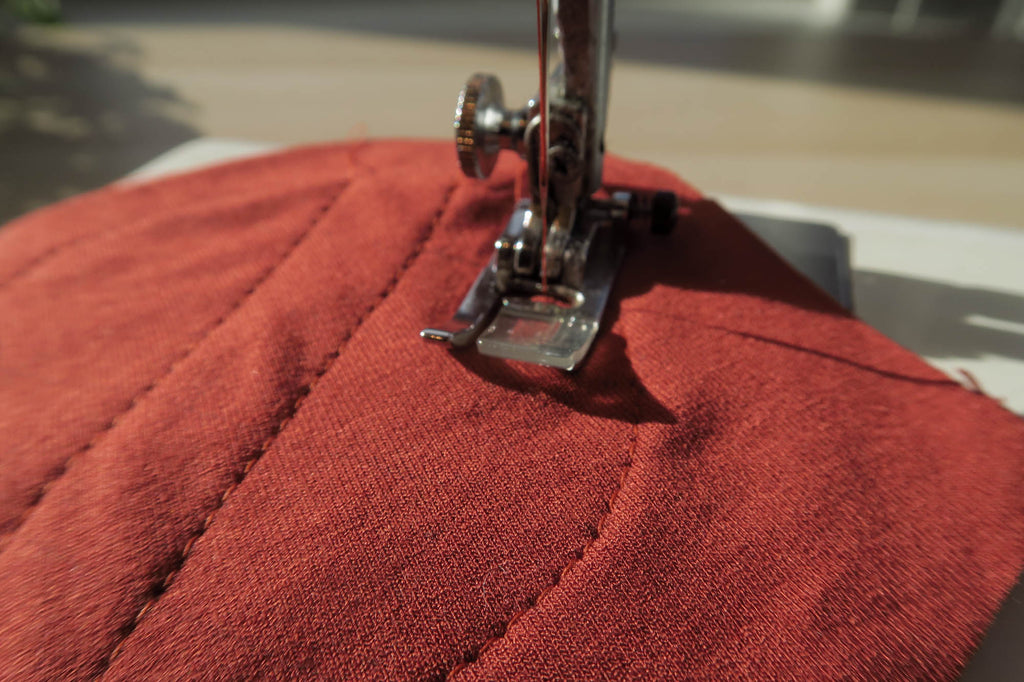
Fill in the remaining diagonal lines. Backstitch one or two stitches at the start and end of a line so that your top stitching doesn’t unravel.
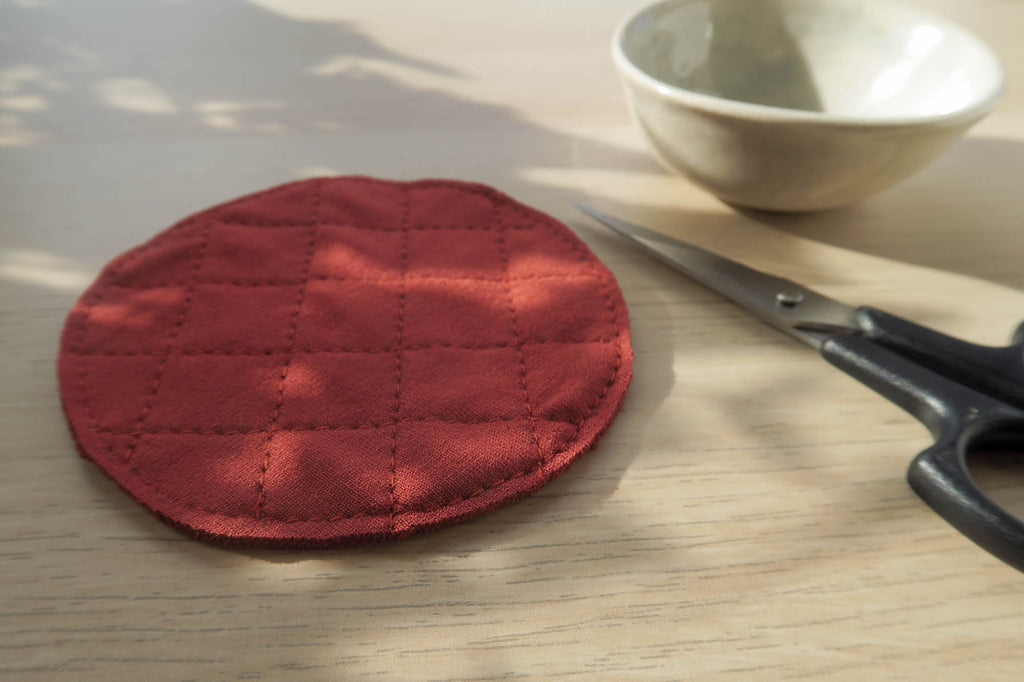
Once you’ve filled in all the lines, you’ll have a lovely little quilted circle like this!
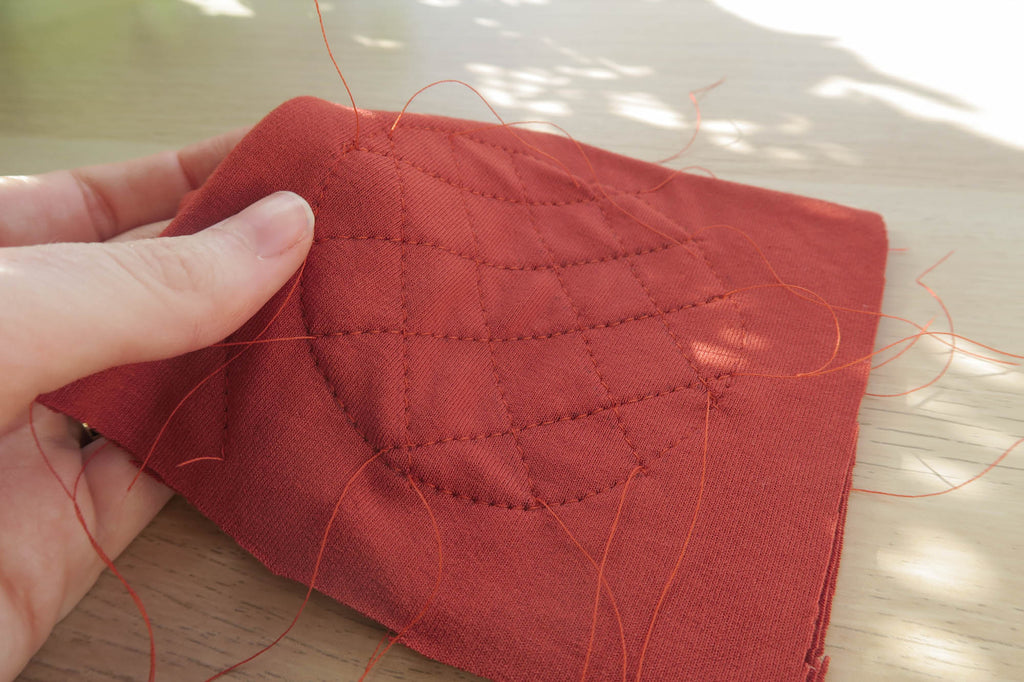
Trim the excess threads and carefully cut around the circle of top stitching, about 2 mm away from the edge. If, like me, you are using t-shirting, there is no need to finish the edge. If you’re using a woven like linen or cotton lawn, I would use pinking shears to finish the edge. (‘Cause it’s cute and will look like a little pillow of pasta.) Or of course you could overlock, or zig-zag over the edge on a normal machine.
And there you have it!
That’s it! Easy to make facial rounds! You can knock out a few in an afternoon and keep them on rotation. Just rinse and use, or chuck them in the wash with the rest of your clothes. Simple and low waste.